Recently i've received a lot of positive comments on my blog photography and had a few people assuming that i'm some kind of expert and asking if i'd consider giving out lessons. I most definitely am not qualified to give out proper lessons! If you've been reading this blog for a while you'll know that for the first few months of it's life, oflambsandlace had some pretty appalling photos. I was shooting at nighttime on full automatic mode, with no remote and overediting using an app on my phone, a fact that is actually shameful and hard to confess to. Around April i became tired of the extreme jealously i'd feel when i read some of my favourite lingerie blogs (see thatjenesaisquoi, thelingerielesbian and oh baby pipe dreams here, lostinlingerie) and saw how aesthetically pleasing their blog photos were. So in the eight months since, i've completely taught myself (with the occasional bit of help from pinterest or phonecall to the impeccable film photographers in my family) how to use my camera in manual mode, how to stage and how to edit my photos. Everything i've learnt so far has been completely down to trial and error and i'm still improving.So since i'm an amateur photographer and self taught, any of the tips shared here may not necessarily be techniques favoured(or even agreed on) by other photographers and are tailored to suit my own aesthetic style. I've also based these tips around how i take my blog photos, but a lot can be extrapolated to apply to photography outside of lingerie blogging. 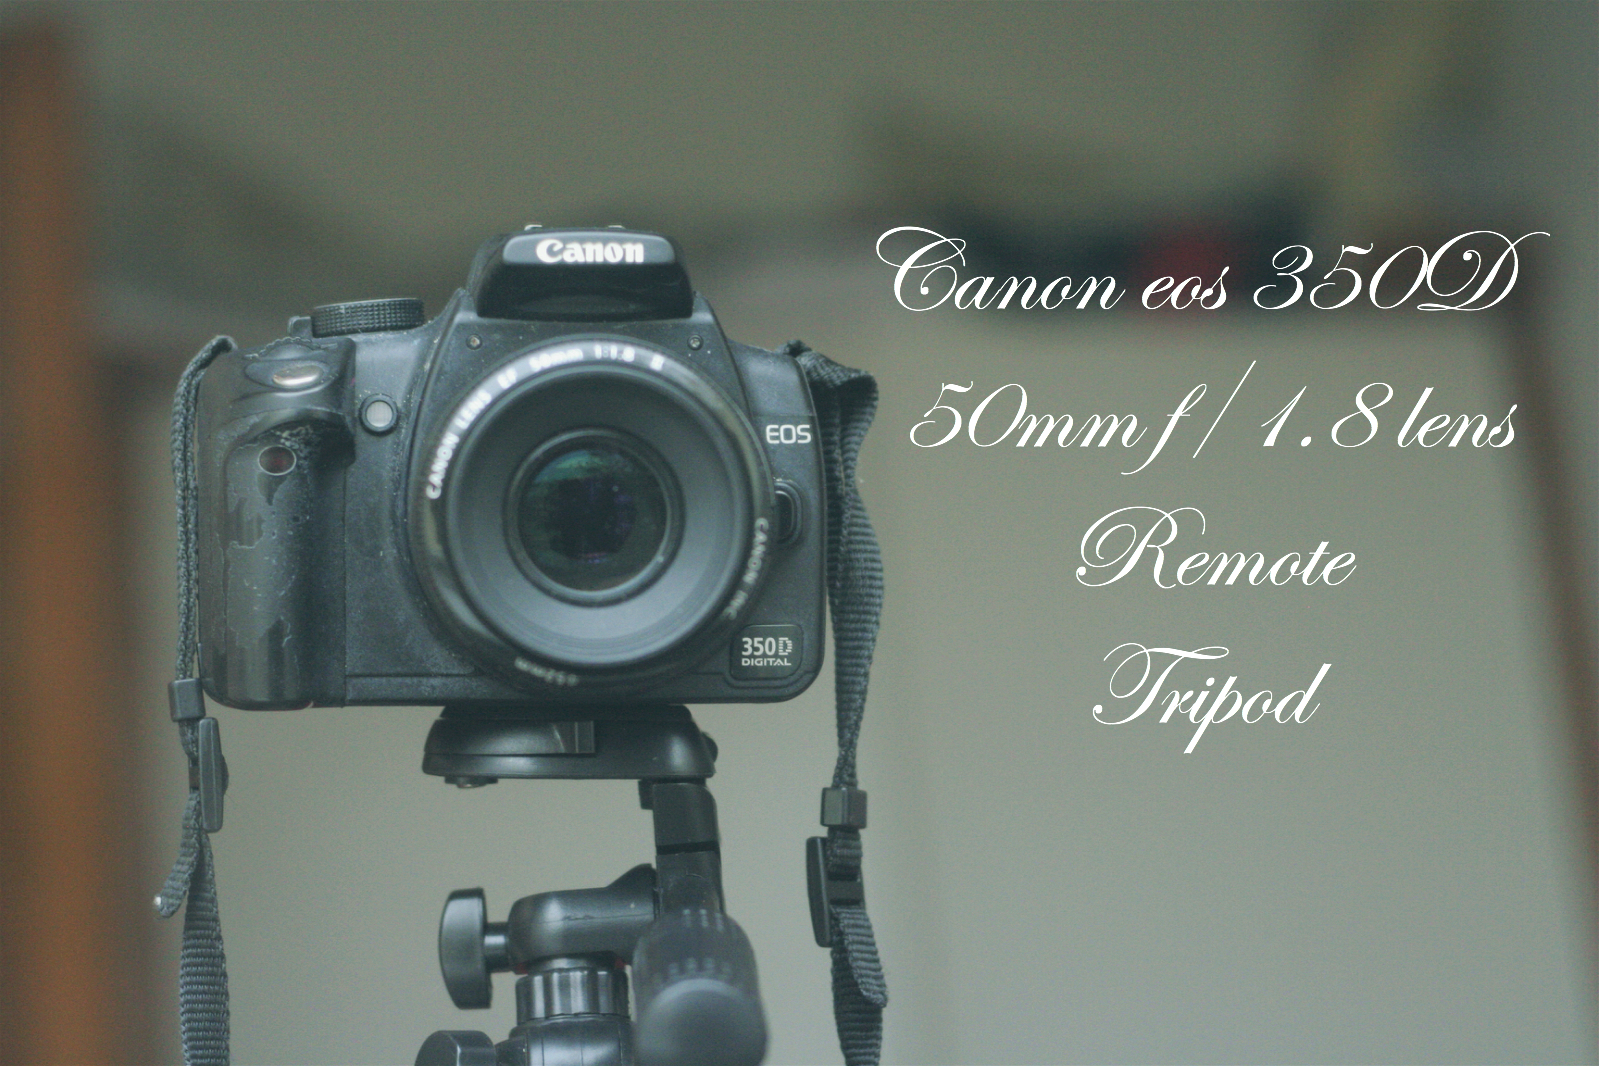
Kit
I shoot with a DSLR because i enjoy the freedom you can get with the manual functions but i've seen some incredible blog photography with point and shoots and even phones (i kid you not), so it's certainly not absolutely necessary to have an expensive camera.
As you can see my Canon EOS 350D has seen better days. It's old , battered and i bought it second hand for cheap. Production on this baby ceased in 2005 so it's no where near up to date, or in full working order, but we get along just fine. My Canon 50mm f/1.8 (which i will explain later) static lens was bought new from ebay for <£70 and is the lens i use most frequently, the other that gets occasional use being the "kit" lens that came with the camera. The reason i prefer my 50mm is because it has a higher aperture but, as it is a static lens (no zoom function whatsoever), and due to the nature of the mirrors in the camera, this means it has to be at least 5ft away from the subject you're shooting, which doesn't half make it difficult to shoot some particular blog photos.
I also use a remote and tripod, both bought for cheap off of amazon. I have a compact (3ft) tripod which is a little (very) flimsy and i still have to prop it up on table or shelves for a better height. Before i got my tripod i'd just use a mountain of textbooks, shoe boxes, whatever to rest my camera on but really, to get any kind of angle except straight on, you need an adjustable mount (not a flat surface). A remote, i would say, is essential. Shooting self portraits means that i almost always use the autofocus function. So to ensure i'm in focus, i need to already be positioned in front of the camera before triggering the shutter. Hence why the remote comes in handy.
If i'm shooting myself: I position the tripod and camera, put the camera on "autofocus" and "timer mode", set my aperture (more on that later), position myself and then use the remote to take the photo. I then check the image, adjust and repeat multiple times.
If i'm shooting anything other than myself: i put the camera on "manual focus", set my aperture and focus, frame my subject and then take the photo.
Lighting
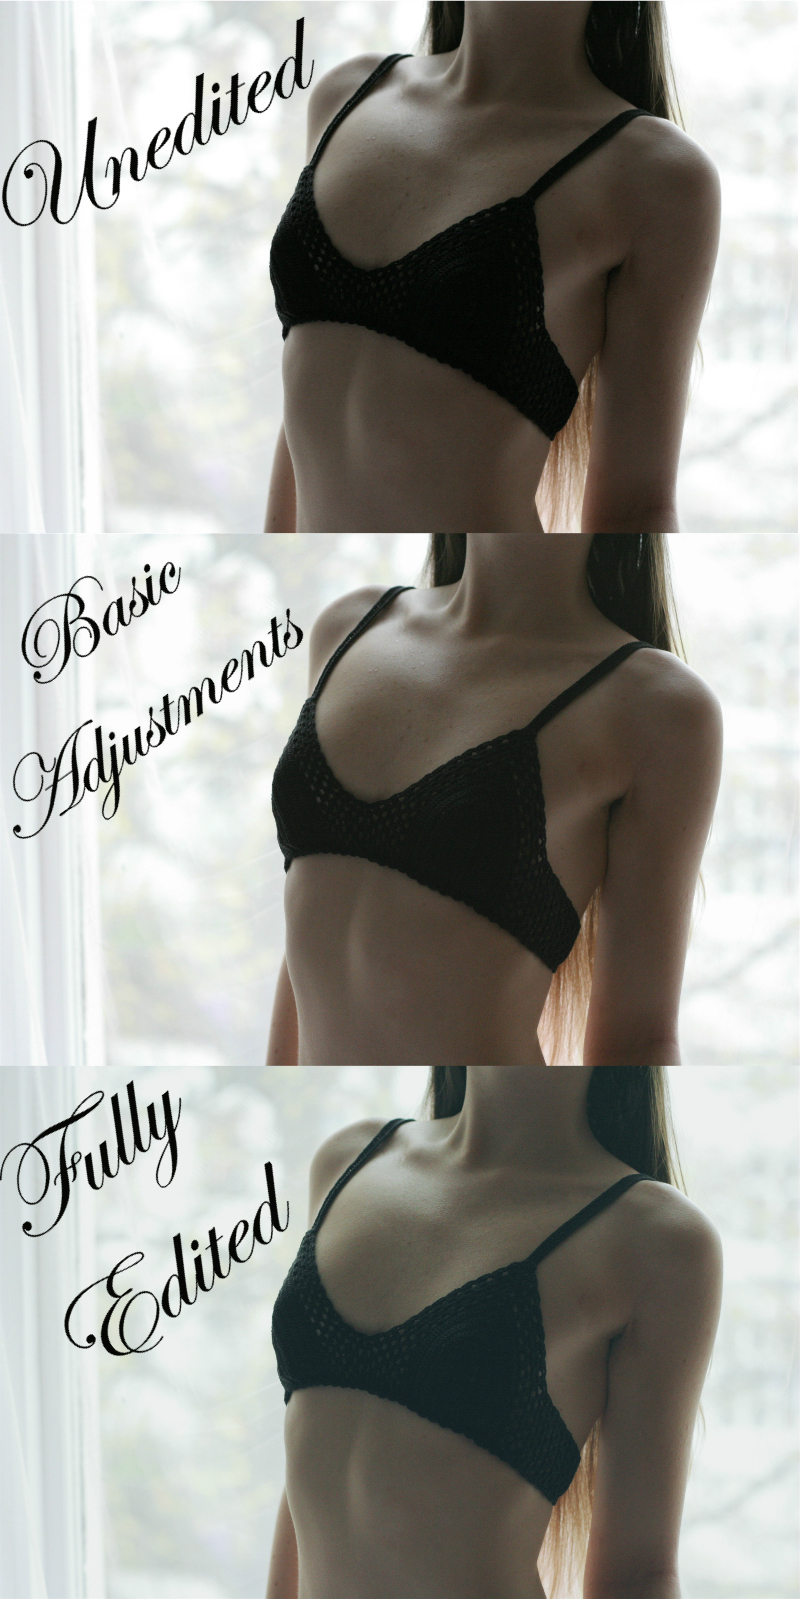
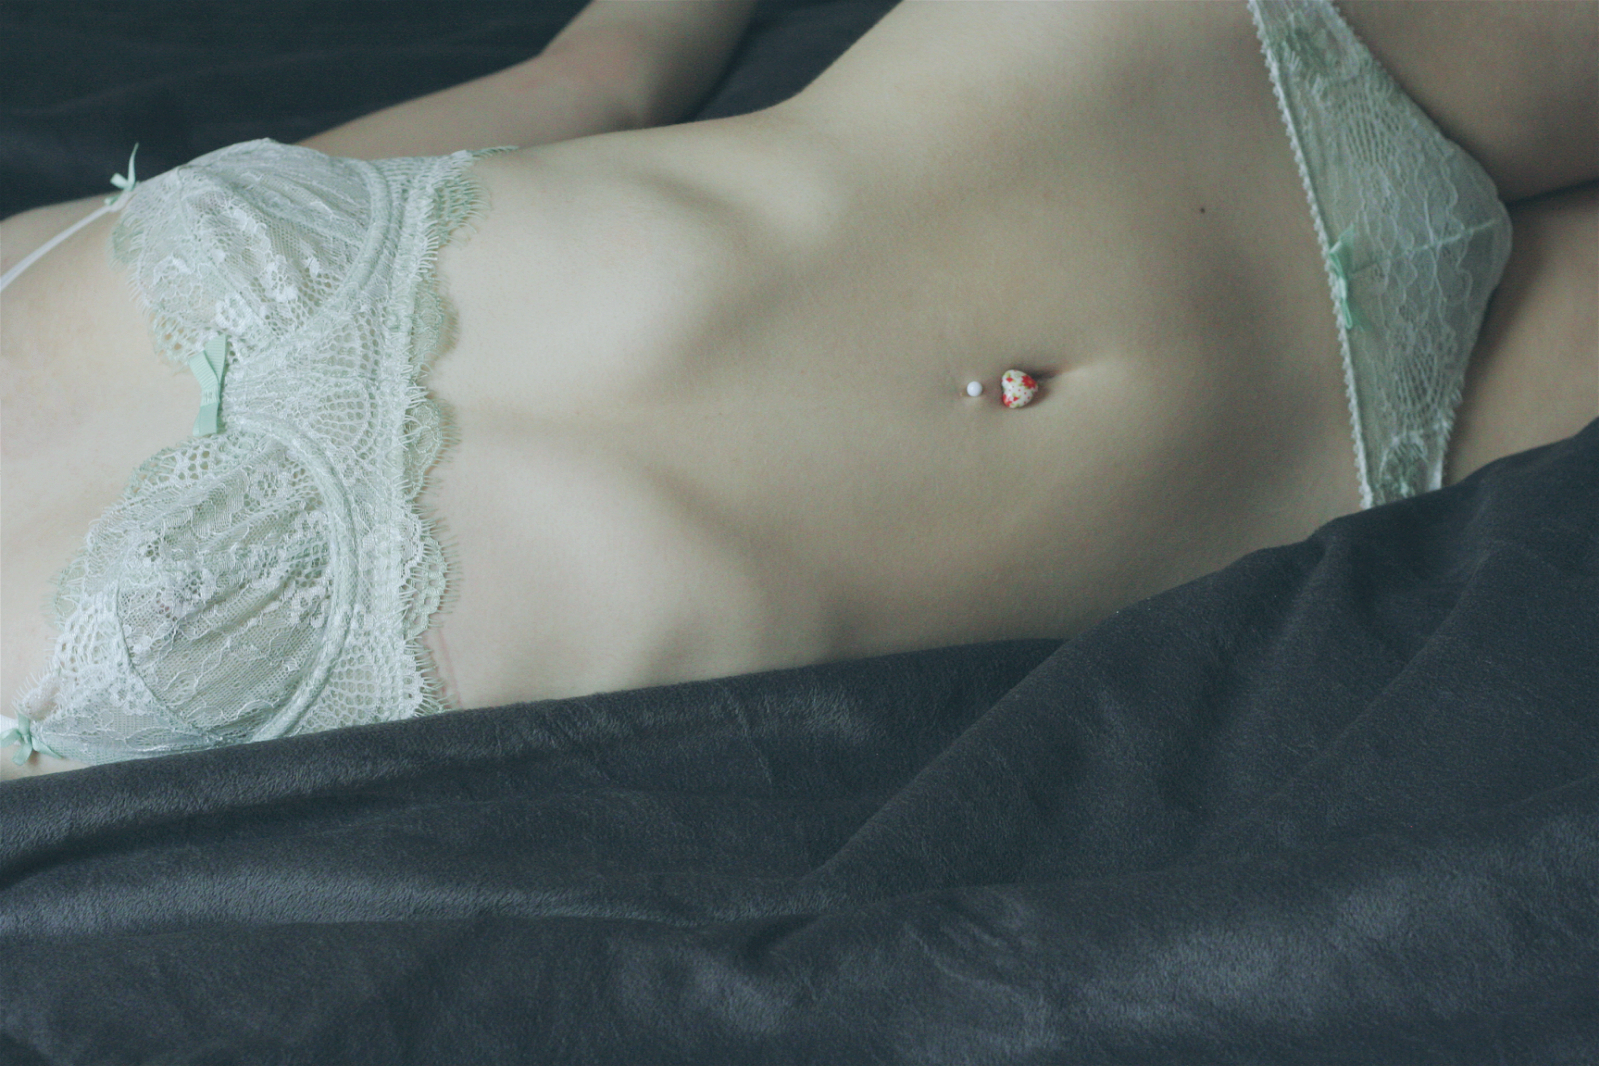
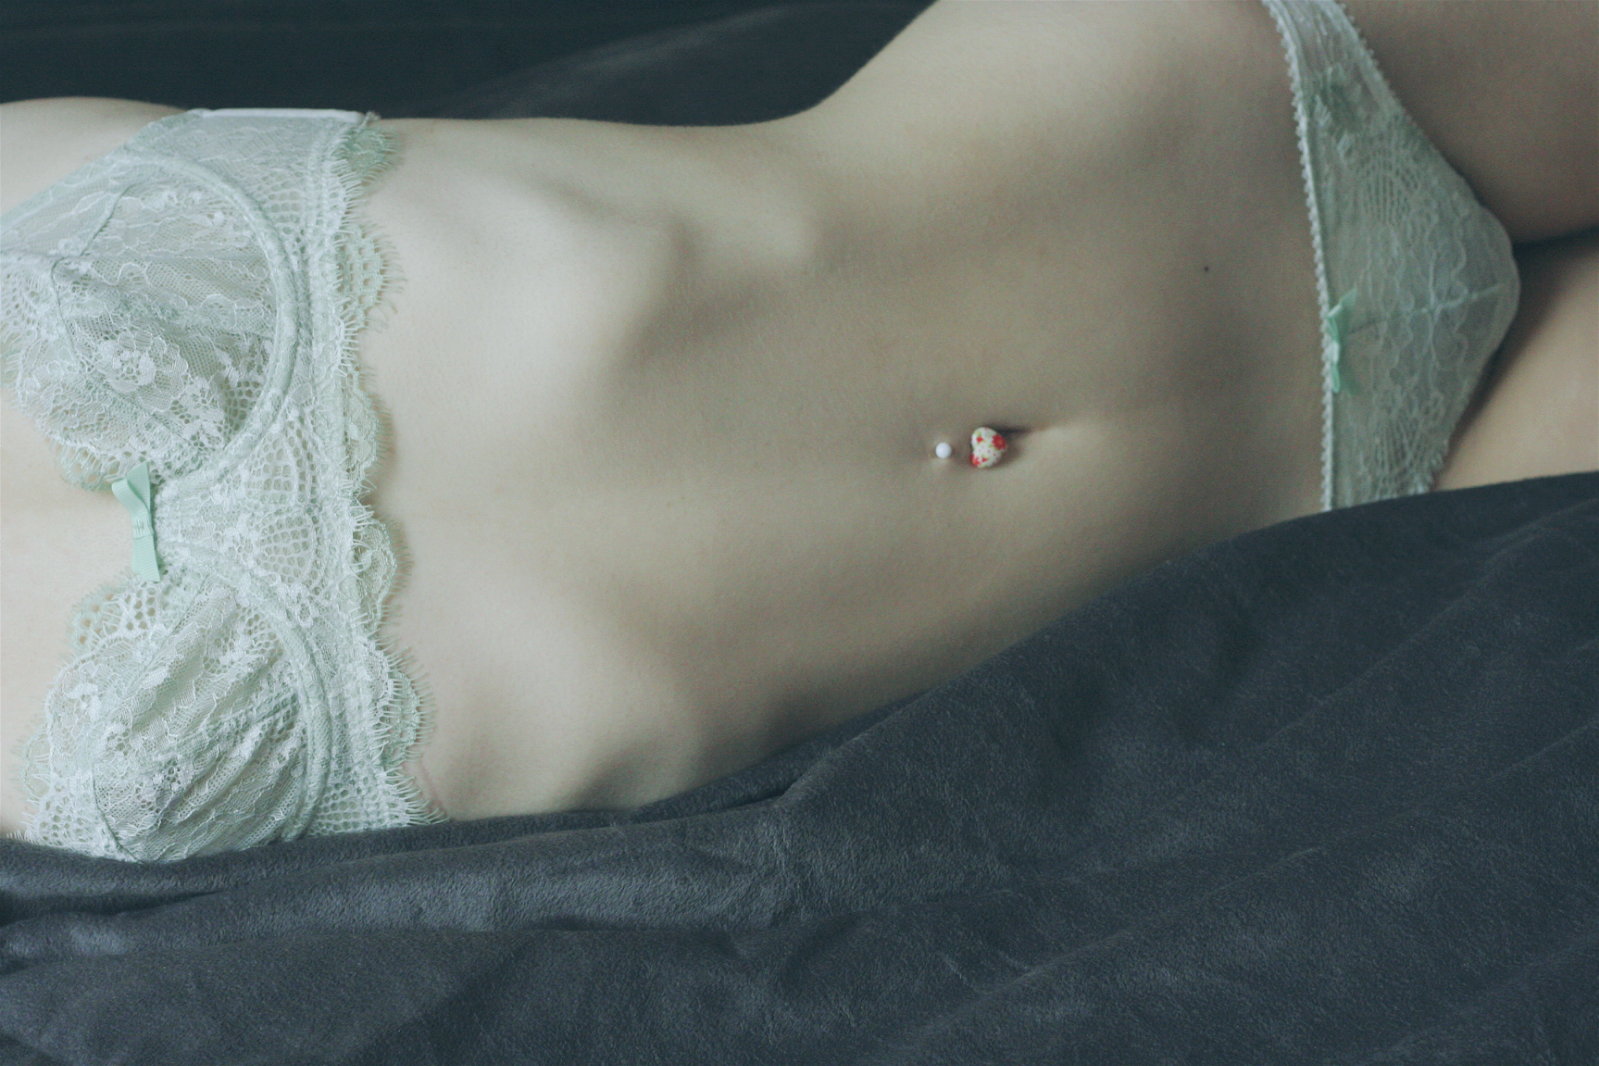
*Both these photos are unedited*
I cannot stress enough how important shooting in natural light is. It makes such a massive difference to all photos if you have a good natural light source. So unless you specifically want to shoot at night (and in that case i am pretty ignorant when it comes to diffusing flash and using artificial lighting rigs) make time during daylight hours to shoot and pick a place with lots of natural light.
One thing i've learnt as an amateur photographer is to avoid positioning my subject directly infront of my major light source. I've seen so many gorgeous photos where this works but no matter how many times i've tried, i've never been able to resolve any detail on the front of the subject without ending up with grainy, over-saturated, images. If i'm absolutely determined to have a window as a backdrop then i like to diffuse the light with net curtains, which helps a little. If you don't want to resolve any detail on your subject and are aiming for a silhouette then by all means do the opposite of this and make sure the subject is out of focus.
Ideally you want to have your subject off to the side of a major, natural, light source, in a well lit area. Unfortunately as is oft to happen in the winter months, even the light in the very middle of the day can be low so it's hard to shoot a subject without having them face the light source. This can give a dull cast to the photos which can be fixed easily with basic editing but sometimes i prefer to wait and reshoot when the lighting is more appropriate.
Aperture
I always shoot in the slightly, but not fully manual "aperture priority" mode on my camera. This means that while i set the aperture, my camera automatically sets an appropriate shutter speed to ensure the photo is not over or under exposed. Ideally i'd love to shoot in full manual mode but my camera's light meter is broken and therefore to set my own shutter speed would be a long and arduous task of trial and error for every single photo. I find it's more important, for the kind of photos i take, that i am in control of my aperture than my shutter speed anyway. The aperture gives me effect i desire: a shallow depth of field.
I'm a firm believer that a shallow depth of field can make any amateur photos look really professional and if you take a look through my blog all the way back to early summer you'll see that it's a technique i use a lot. You can always edit a blurred background into your photos but if you have a manual camera and a lens with a relatively high aperture then it's so easy to master this.
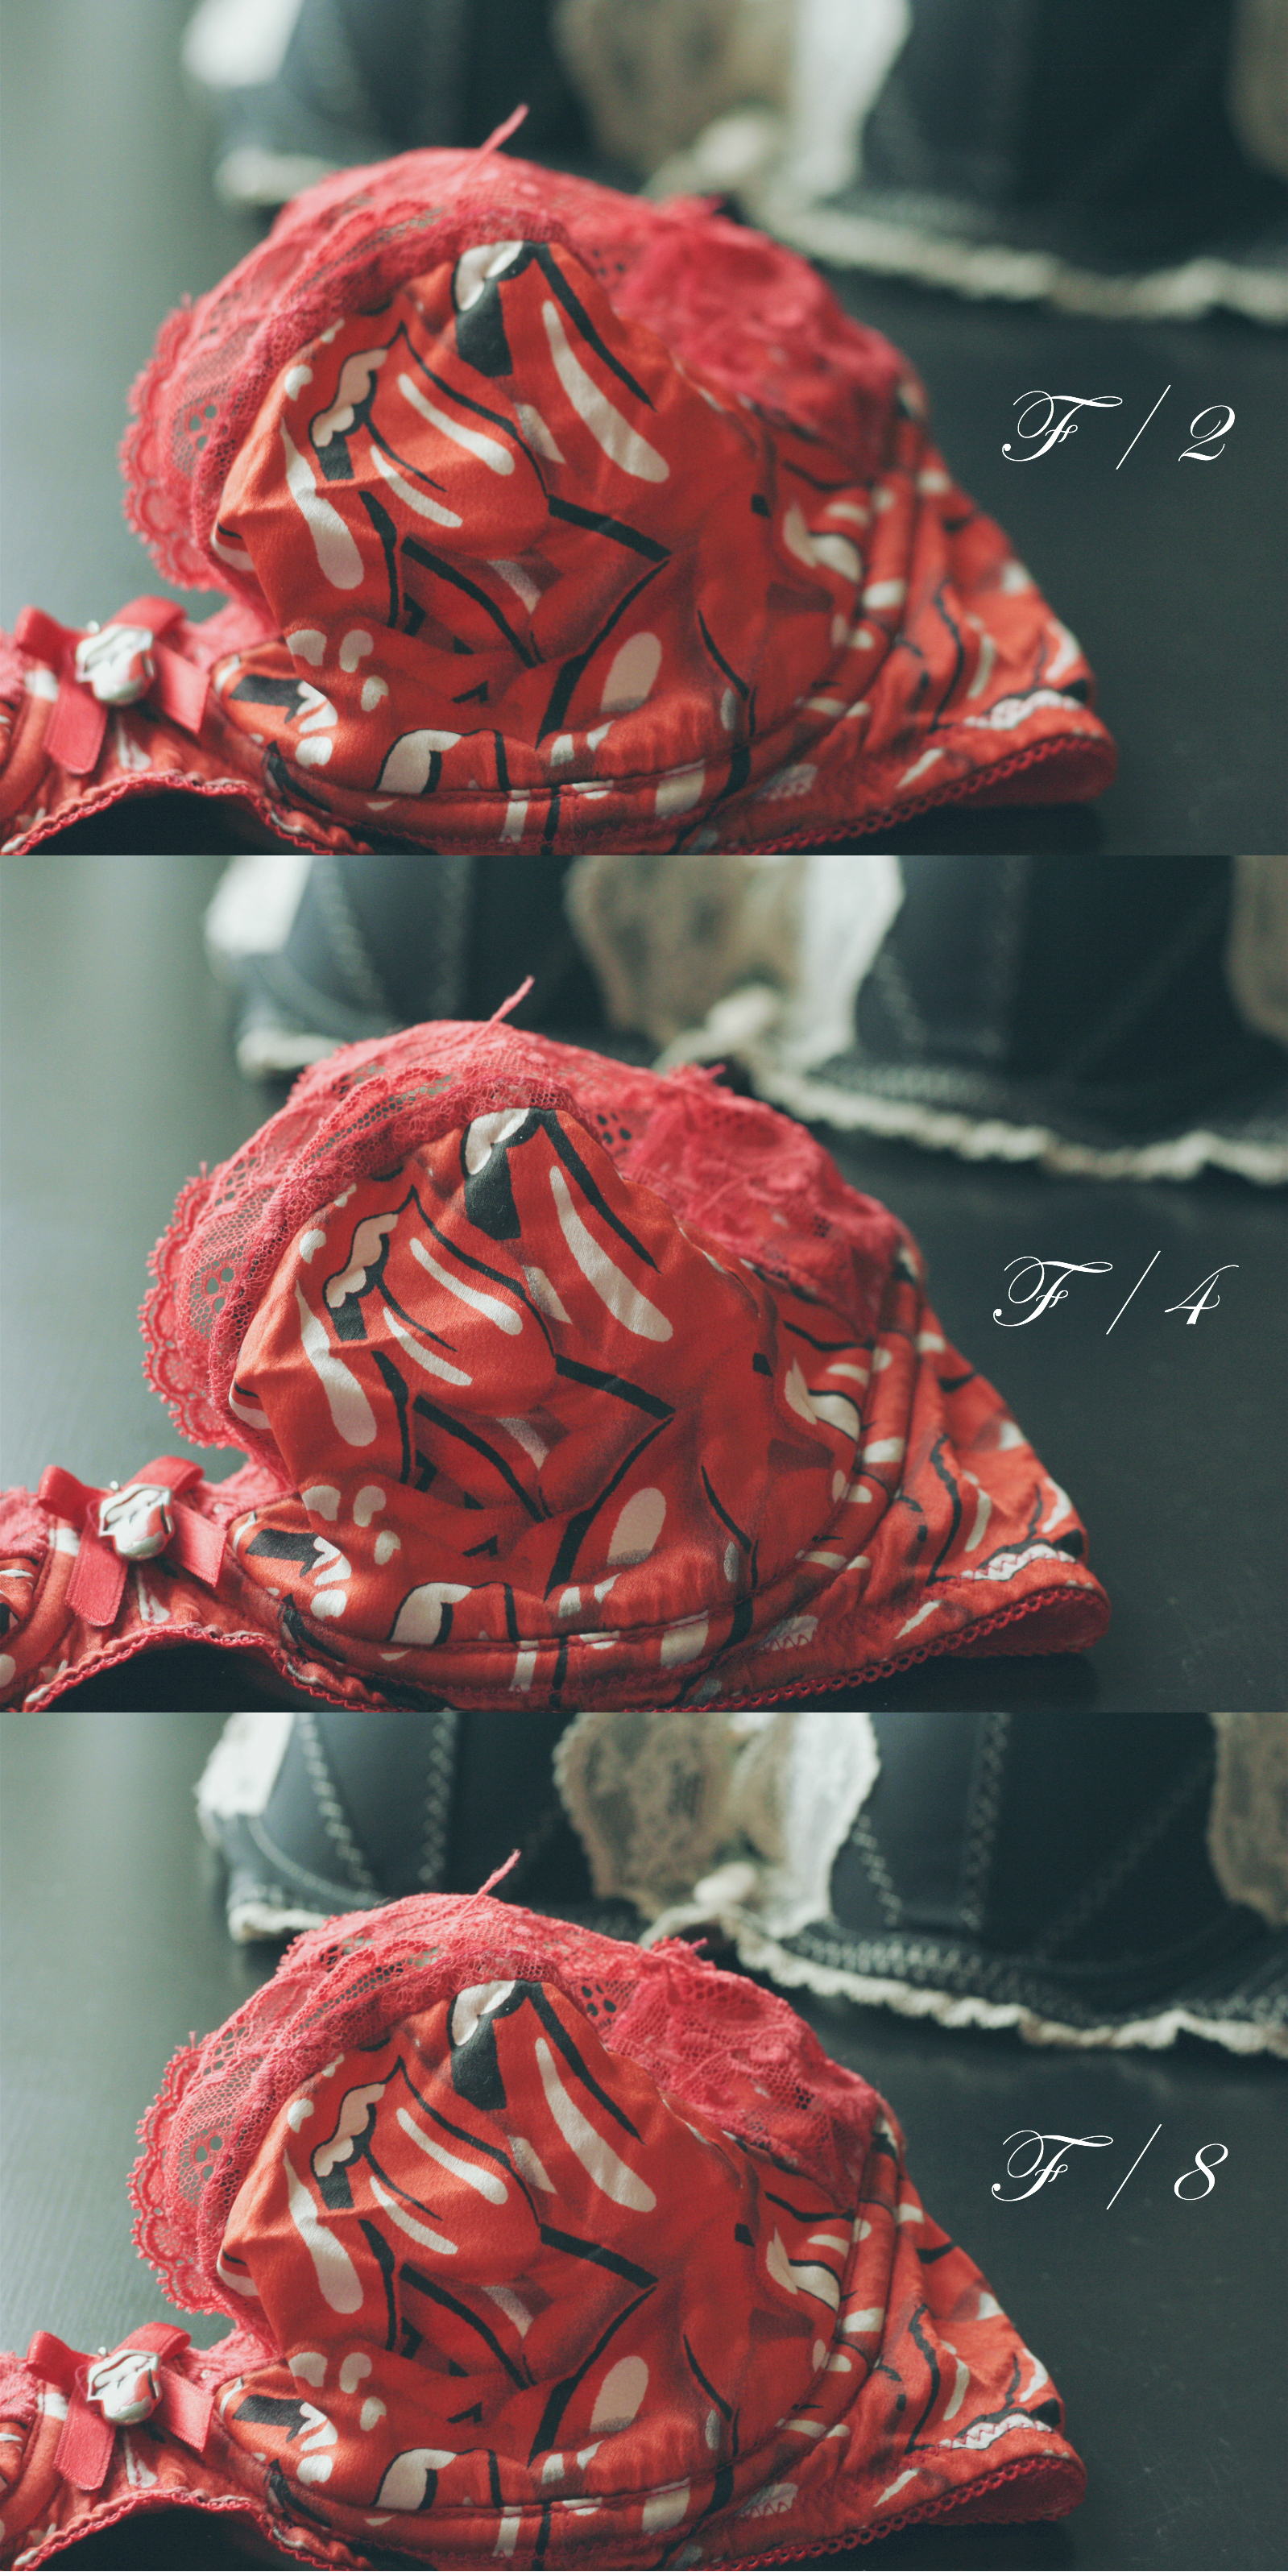
The aperture is how wide your lens opens and therefore how much light it lets in. All camera lens' vary with how wide their aperture will go and this is indicated by the f-stop (the focal length). So here's the tricky bit, a wide aperture corresponds to a low focal length (e.g. f/1.8 to maybe f/6) and therefore a shallow depth of field. A narrow aperture corresponds to a high focal length (e.g. f/10 and above) and therefore a very deep field.
Shown above are three examples from a very high aperture of f/2 to a slightly lower aperture f/8, to illustrate what i mean when i say a "shallow depth of field." As you can see in the first photo, only a small portion of the subject is in focus and the background is heavily out of focus (if this background held a light source you would see what is referred to as "bokeh"). With f/4 there is still a significant blur to the background but i'm able to get more of the subject into the frame and i'd say this was the best aperture to use for this particular set up. With f/8 it's quite clear that the depth of field has increased greatly and the background starts to look noisy and distracting. Obviously depending on the subject and the posing, this will vary.
When working with a shallow depth of field it's important to remember that there is one plane of focus. What this means is that once you focus on your subject, anything, anything in the foreground or background of this will be out of focus. The higher your aperture (lower your f-stop) the shallower this field is. So when shooting you need to take this into consideration and ensure everything you want to be in focus is within that plane and not infront or behind it.
I usually shoot around f/3 for self portraits where my posing is all in one plane. I increase this up to f/6 or f/7 when my posing spans multiple planes as i need a much deeper field. For products and detailed shots i stick around the f/2 or f/3 mark but as seen above, sometimes f/4 is a better choice. Honestly, trial and error it. Decide what you want in focus and what you want out of focus and then try multiple apertures until you get one that you feel encompasses this.
Editing
Great photographers don't believe in taking a photo already with the knowledge that it can and will be improved with editing. I however, am not a great photographer. I know every single one of my photos will look significantly better after editing. And you don't need to be a photoshop pro to get a professional looking finish.
I personally use a free online editor for all my photos. Granted it's completely in chinese but once i figured out what everything did (trial and error is your friend), i found that it suited my needs perfectly. A basic edit can be done with almost all editing software, from the free "preview" program that comes pre installed on a mac (and i'm sure microsoft has something similar) to all free online editors. These minor changes can make a huge difference to photos and i, in the vast majority of my photos, tend to follow these acquired habits:
- increase brightness by x amount
- decrease the exposure by approximately two to three times x amount
- increase the saturation slightly by a few counts
-play with sharpness (optional)
I then, always go on to do a full edit which is a little more thorough and how you go about this will depend on what editing software you're using.
I usually:
- Use the clone tool to remove any blemishes, the occasional nipple, etc.
- Add a photo filter on low to mid opacity (this is very lazy way of playing with levels and colours of a photo).
- add low opacity circle and text (optional: for header images).
A Run Through
When i'm actually taking blog photos i act purely on a trial and error basis (are you seeing a theme here?) I always somewhat plan my shoots out in my head for a few days beforehand but often when it actually comes down to it, some of the photos i imagine go beyond the realm of physical possibility when working with a tripod and yourself as a model. So often it's an ongoing process of posing and then peeking at the photo, adjusting and repeating. It can get pretty exhausting but i've learnt that it's so much better to spend an extra half hour and end up with too many good photos than thinking you've got "the shot" really early, when you don't, and ending up having to completely reshoot.
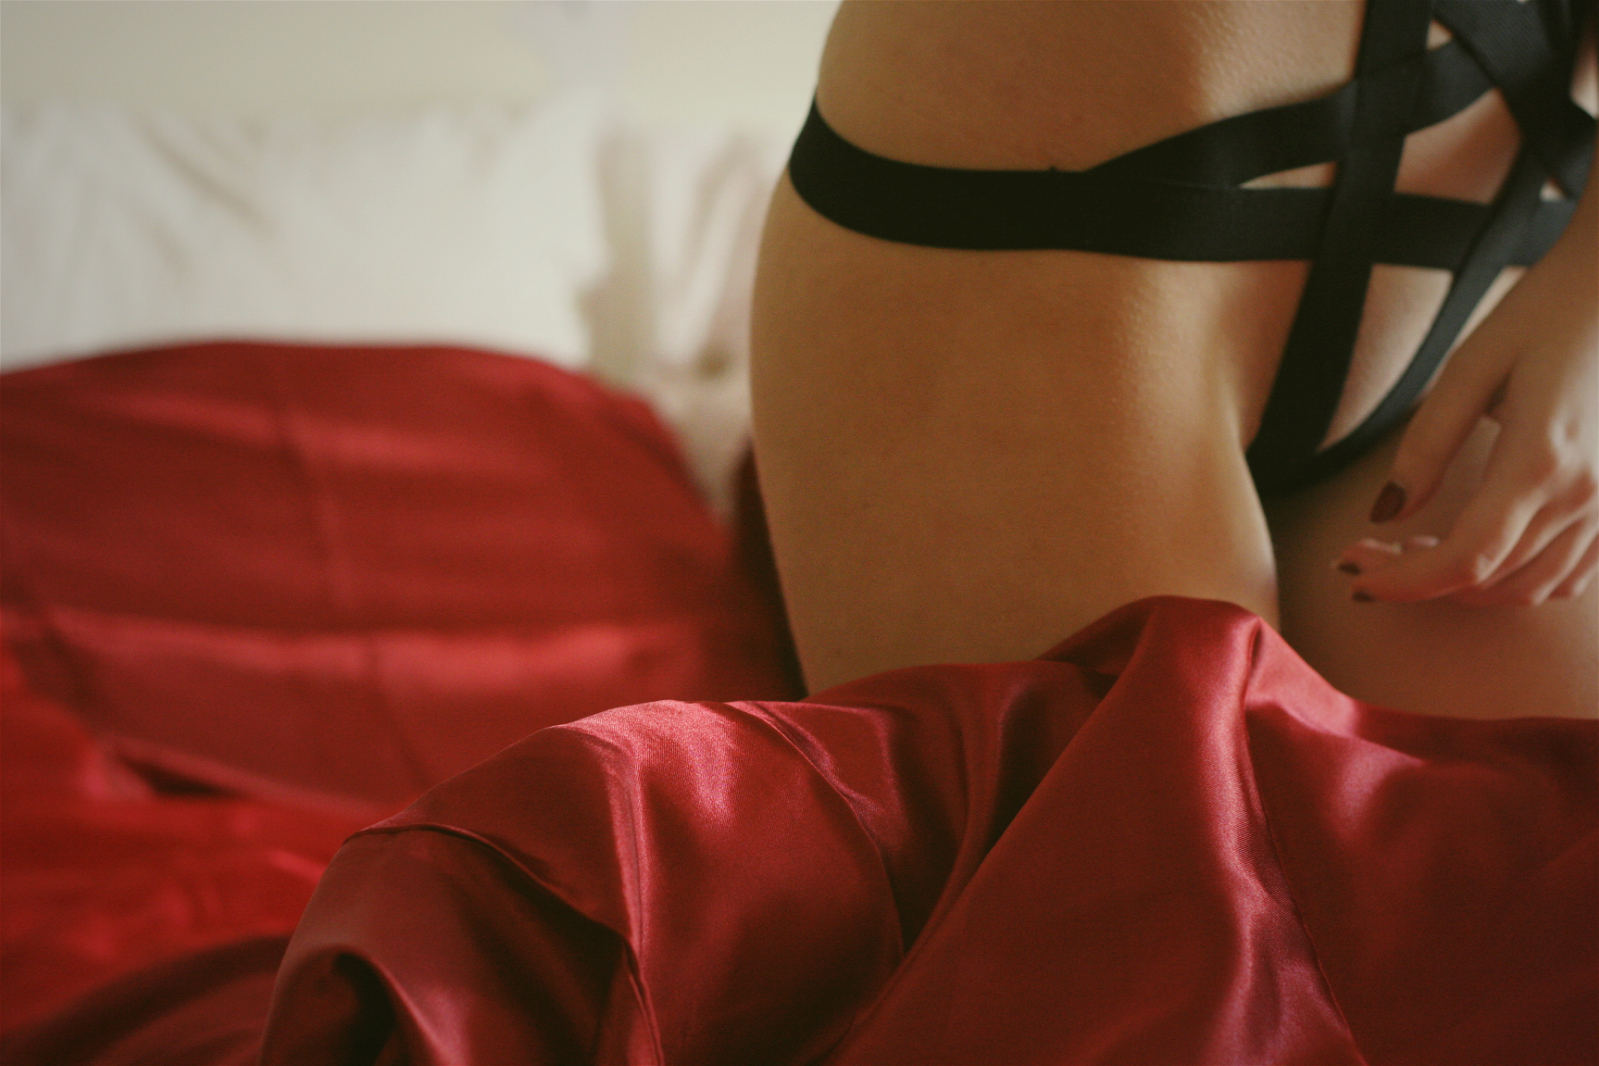
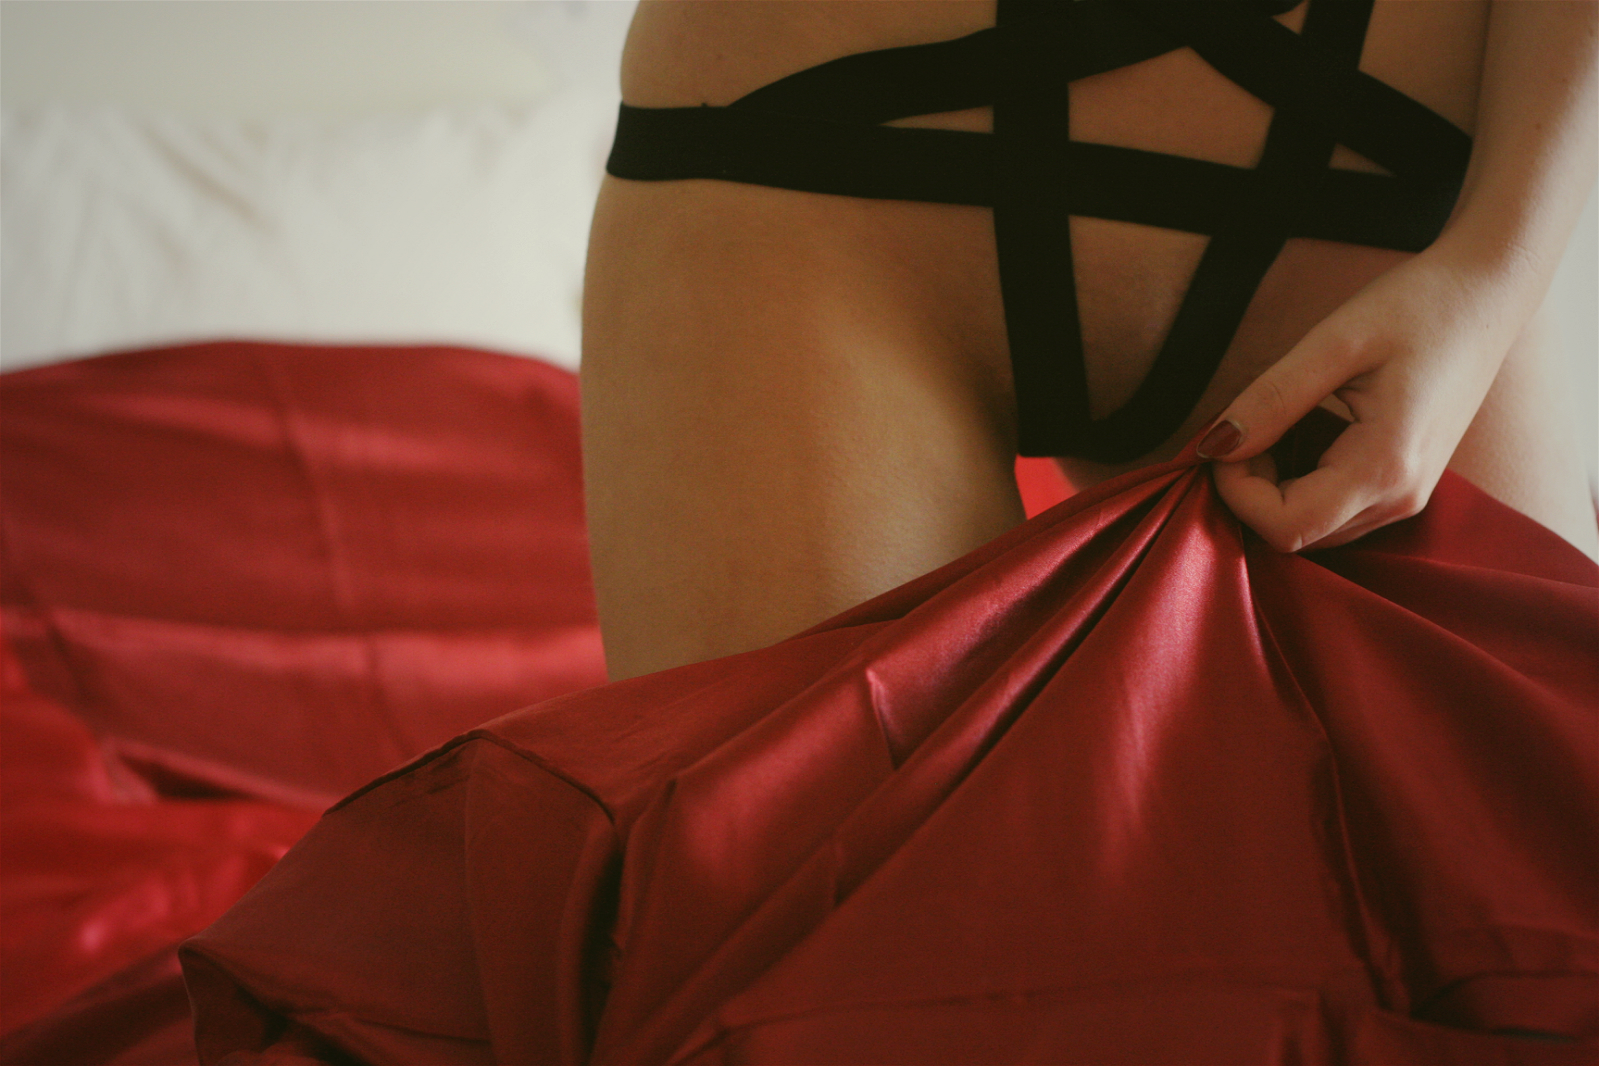
So with that in mind i staged an impromptu shoot that, from set up to "completion" took me about 5 minutes so i can illustrate my thought process when staging photos.
I staged this entire shoot with a low natural light source, due to it being late in the day (4.19pm, mid november) and this being a last minute idea, coming in diagonally from the lower left corner. My aperture was set at f/5 and my ISO (for anyone who wants to know) seems to be permanently set on 1600 because i always forget to change it. No flash was used and all these photos were given a full edit (generic details above) as they would be if they were intended for a proper blog post.
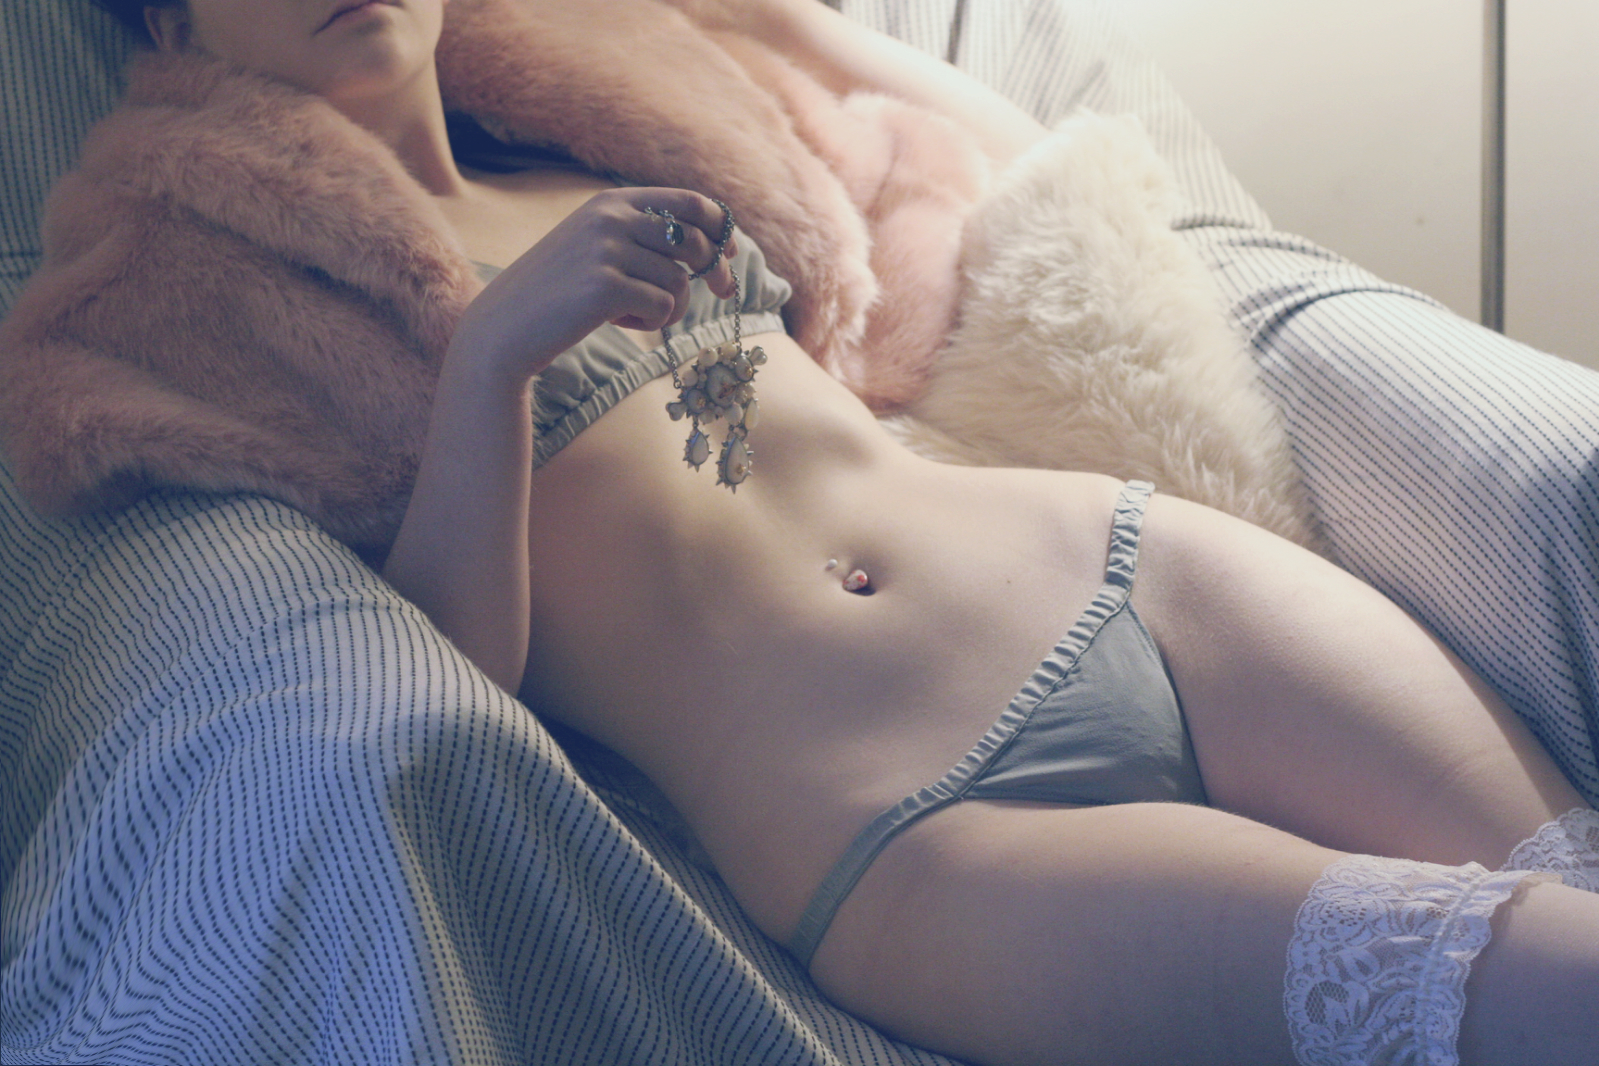
Attempt One
- Badly chosen setting. The colours of the sheets don't suit the lingerie. Not to memtion: seams and colour gradient of sheets are in shot and distracting.
- Unflattering pose.
- Bra is out of focus and knickers are almost completely hidden.
-Poor use of space. The eye is drawn up from the focal point of the unfocused upper chest to the mass of empty space on the left of the photo.
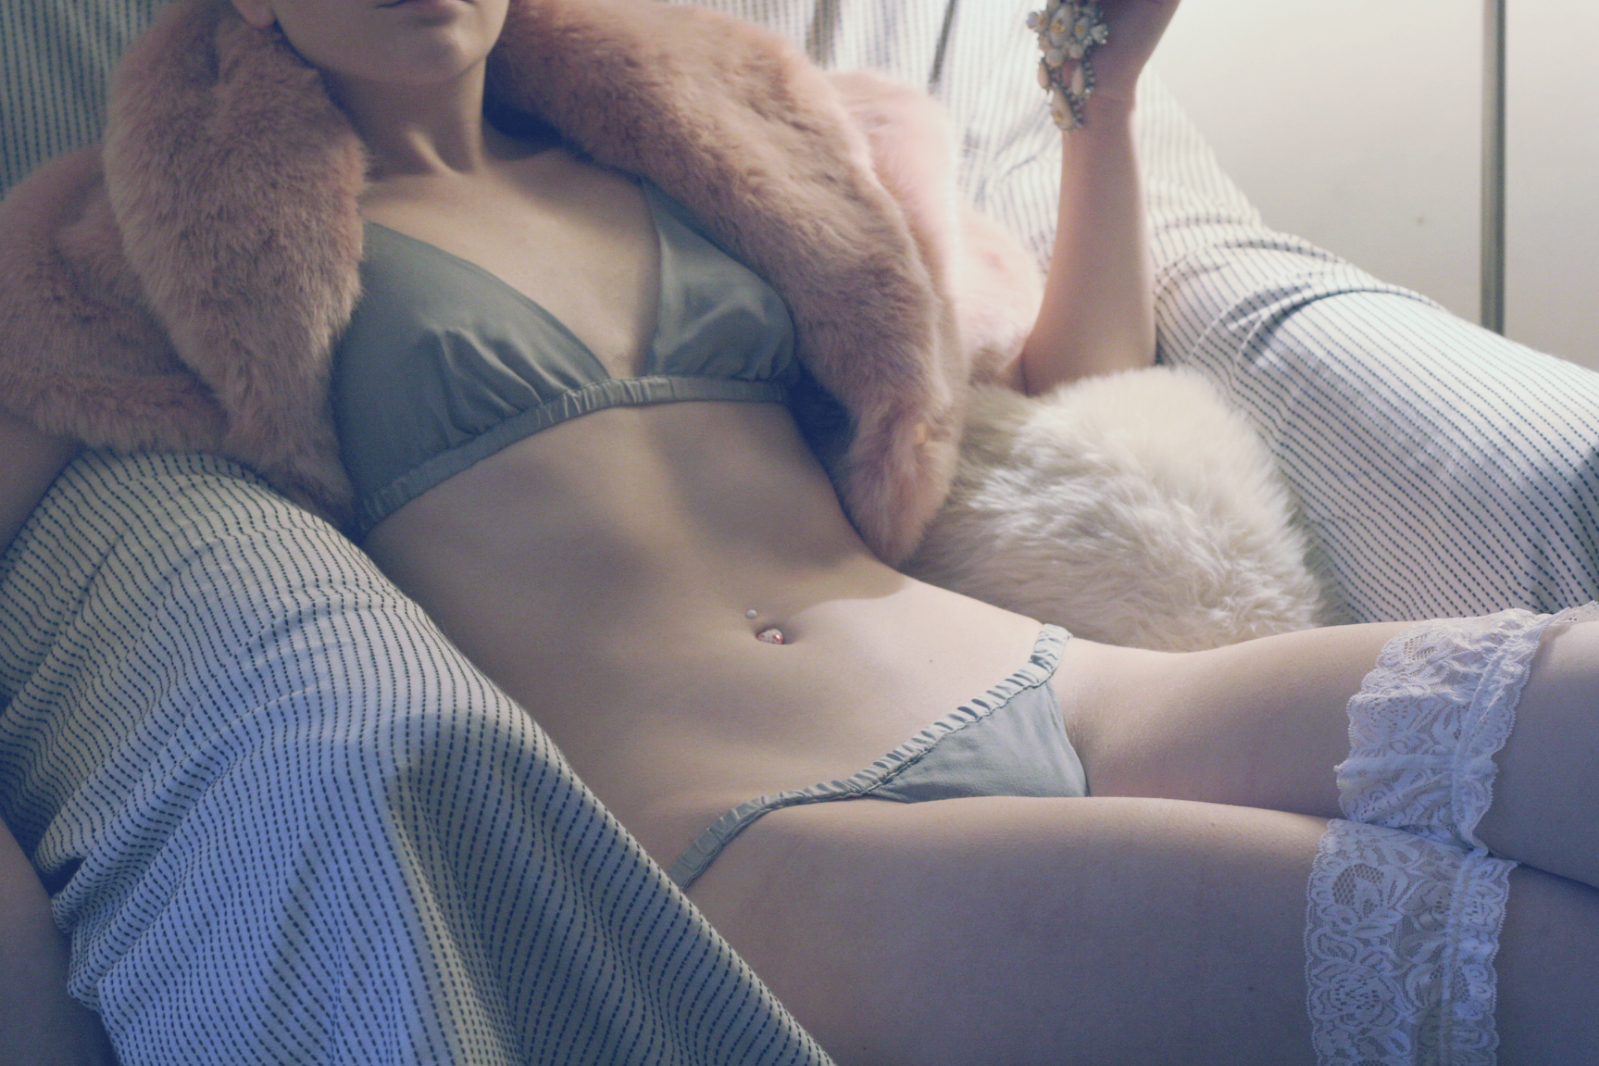
Attempt Two
-Change of setting. Sheets are of a colour and texture more suited to the lingerie.
-Slightly improved pose. Not good enough. Awkward angles from rib cage are the central focus.
-Bra is in focus but half out of shot. Hips were elevated with a pillow therefore knickers in shot.
-Spacial use is still poor. Too much space disused to the left of the photo. The small patch of the room visible between the thighs is distracting and ruins the cohesion of the photo.
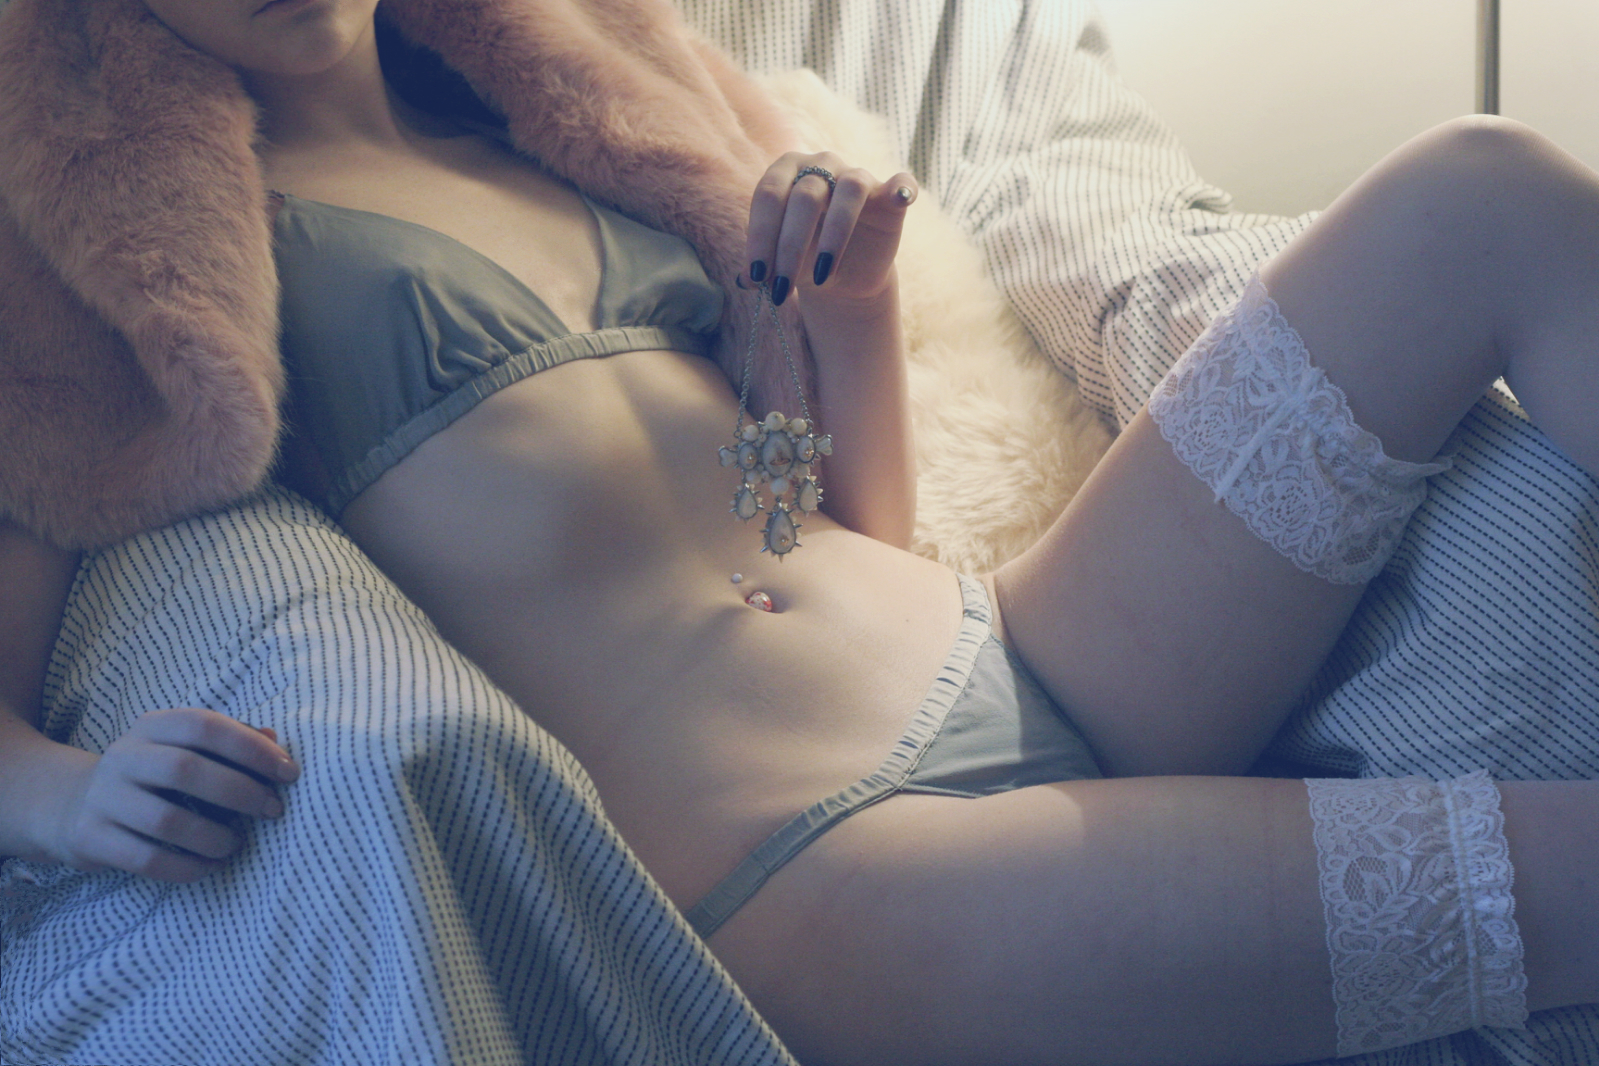
Attempt Three
- Better pose however the arm in the background ruins the entire shot. Very disjointed. The twist of the shoulders, looks a little unnatural too.
- Bra is in focus. Knickers are slightly out of plane of focus.
- Unused space at the front of the photo. Curved line of body juxtaposes against the straight line of the sheets in a unpleasant way.
- Central focus of the photo is the ribcage.
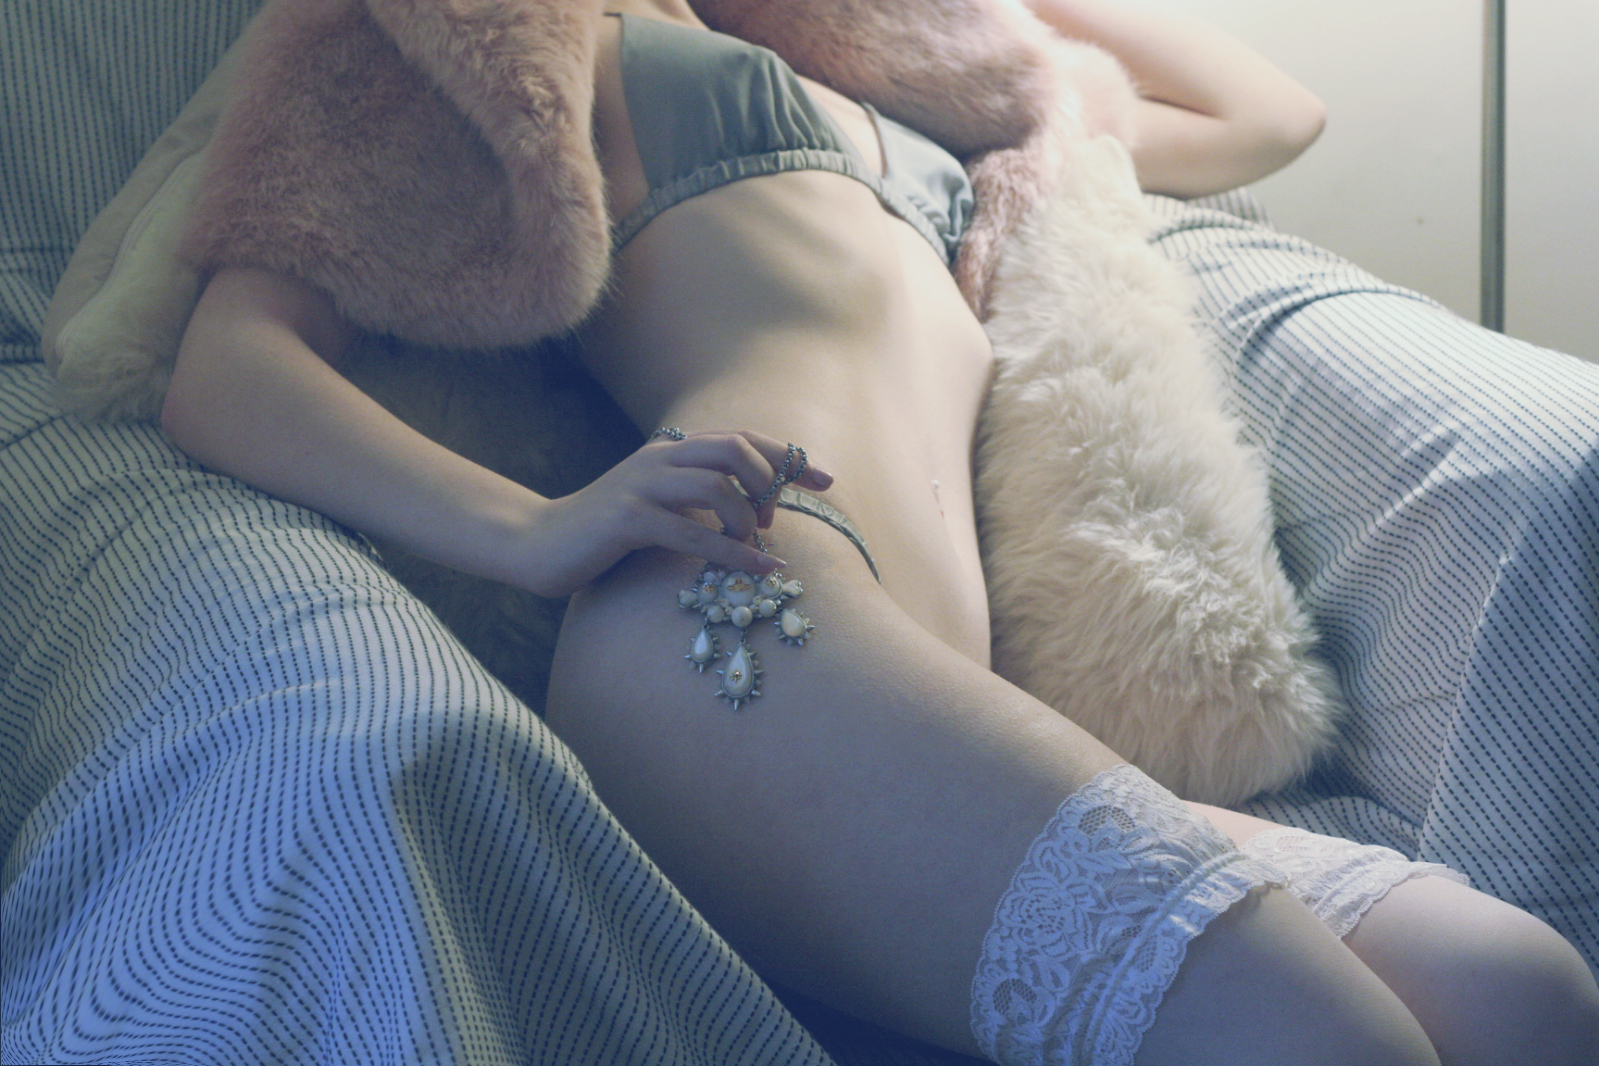
Attempt Four
- Better pose. Much more fluid.
- Yet again bra is in focus, knickers are not. Hard to correct if you aren't a contortionist. Would either have to consider making the bra the focus of one photos, and the knickers the focus of another or decrease the aperture to get the knickers in shot but lose any depth of field.
- Unused space at front of the photo has been reduced. The sheets curve with the body which is more flattering. Adds fluidity.
- Central focus is a little below the rib cage which is an improvement. Still unpleasant (i'm a total skelator at this angle). ideally would like to bring the bra forward and further into the frame if humanly possible. Probably should attempt a change in pose.
I certainly wouldn't be fully satisfied with including this final attempt in a blog post and if i were shooting for real i'd probably reposition my camera or adjust my aperture to try and get a better shot. Just a heads up. i usually take between 30 and 50 photos in one session and on a good day i'll manage to get maybe 5 photos max that i'm happy to use. The problem with me is that i'm a perfectionist but by focusing on what i don't like about my initial images i'm usually able to correct any glaring mistakes and get something half decent.That's not to say i've never got some incredible shots completely on a whim without planning in advance or having to readjust anything. I have, but happy accidents are a rarity and are kind of sad because it's so hard to recreate those conditions.
I think the biggest factor in my improvement as a photographer was/is my constant need to better my work for the sake of my own sanity. Never being completely satisfied leads me to strive to never remake any mistakes that drive me mad in some blog photos. I also play around with my camera for the blog a lot and so i've become familiar with my equipment and techniques. Hopefully this rather brief (yet long) guide will help any other amateur photographers looking to improve their photography. Feel free to leave a comment or email me at oflambsandlace@live.com if you have any further questions. I'd be happy to help out!